There’s a moment in every serious Minecraft builder’s journey when they look at a finished structure and feel like something is missing. The architecture is solid, the palette is cohesive, the lighting is right — but the whole thing feels static. Still. A little lifeless. More often than not, the answer is water.
Water features are one of the most underutilised tools in the adult builder’s repertoire, and it’s a shame, because they solve several problems at once. A well-placed fountain adds a focal point to an otherwise empty courtyard. A river ties two separate biome bases together visually and functionally. An artificial lake transforms flat terrain into something that reads as genuinely inhabited. Whether you’re building a sprawling medieval city, a mountain retreat, or a moody Nether fortress, water — or its equivalent — belongs in the design.
This guide covers minecraft water features from the ground up: core mechanics that prevent common mistakes, fountain blueprints you can reskin across five biomes, techniques for building believable rivers, and a full breakdown of artificial lakes and ponds. We’ll also look at how to bring water features indoors, because some of the most striking uses of water in Minecraft happen inside bases, not around them.
Understanding Water Before You Build With It
Before diving into design, it’s worth spending a few minutes with water mechanics — not because they’re complicated, but because misunderstanding them is the source of most frustrating building mistakes.
Water in Minecraft spreads outward from source blocks, which are the individual water blocks you place directly. When water flows from a source, it creates flowing water that moves toward lower ground. For clean, still-looking builds — fountains, pools, reflecting ponds — you want the surface to consist entirely of source blocks rather than flowing ones. Flowing water has a visible current animation and an uneven texture that breaks the polished look most builders are aiming for.
The practical solution is to fill your water area completely with source blocks, then remove any temporary placement scaffolding. For larger lakes and pools, the most efficient approach is to create an infinite water source — a simple 2×2 or 1×3 arrangement of source blocks — near your build site so you’re not constantly running back to a river or ocean to refill buckets.
For flat, current-free surfaces, fill the entire area with a full layer of source blocks rather than pouring from one end and hoping. This takes more time but produces dramatically cleaner results, especially in large reflecting pools or decorative ponds where surface texture is visible from above.
Stairs, Slabs, and the Waterlogging Trick
One of the most useful building mechanics for water features is waterlogging — the ability to place water inside non-solid blocks like stairs, slabs, and walls without the block being replaced. This lets you create the illusion of water flowing through or around decorative stonework, which is essential for realistic fountains.
A central fountain pillar typically consists of stacked walls with the topmost wall waterlogged. The water appears to cascade from the top of the pillar while the stone structure remains visible beneath. Combining waterlogged stairs facing outward around the basin edge creates a bevelled, polished look that reads as intentional craftsmanship rather than a bucket poured into a hole.
The blocks most worth knowing for waterlogged builds:
- Walls — hold water in the centre of a pillar while keeping stonework visible
- Outward-facing stairs — bevel the basin edge and create the classic fountain rim
- Slabs — cap pools and create flush water-level surfaces
- Trapdoors — control water flow direction in more complex multi-tier designs
Fountain Blueprints for Every Biome
The most efficient approach to fountains is to learn one solid base blueprint, then adapt the materials and surrounding details for each biome. This gives your builds a consistent level of quality while still feeling contextually appropriate — a forest shrine fountain shouldn’t look like a desert oasis fountain, even if the underlying construction logic is the same.
The Universal Base Pattern
Start with a 5×5 or 7×7 basin, one to two blocks deep, depending on how substantial you want the feature to read. The center gets a pillar — typically three blocks tall — built from your biome’s primary stone variant. Place walls on the pillar for texture, waterlog the top wall and the cap block, and use outward-facing stairs around the basin edge to soften the transition between water and ground. This blueprint takes about ten minutes to place and serves as the foundation for everything that follows.
Universal Fountain Blueprint
One base pattern, adaptable to any biome. Learn the structure, then swap the materials.
Top-Down View (7×7 Basin)
Cross-Section View (Side Profile)
Stone and Medieval Biomes
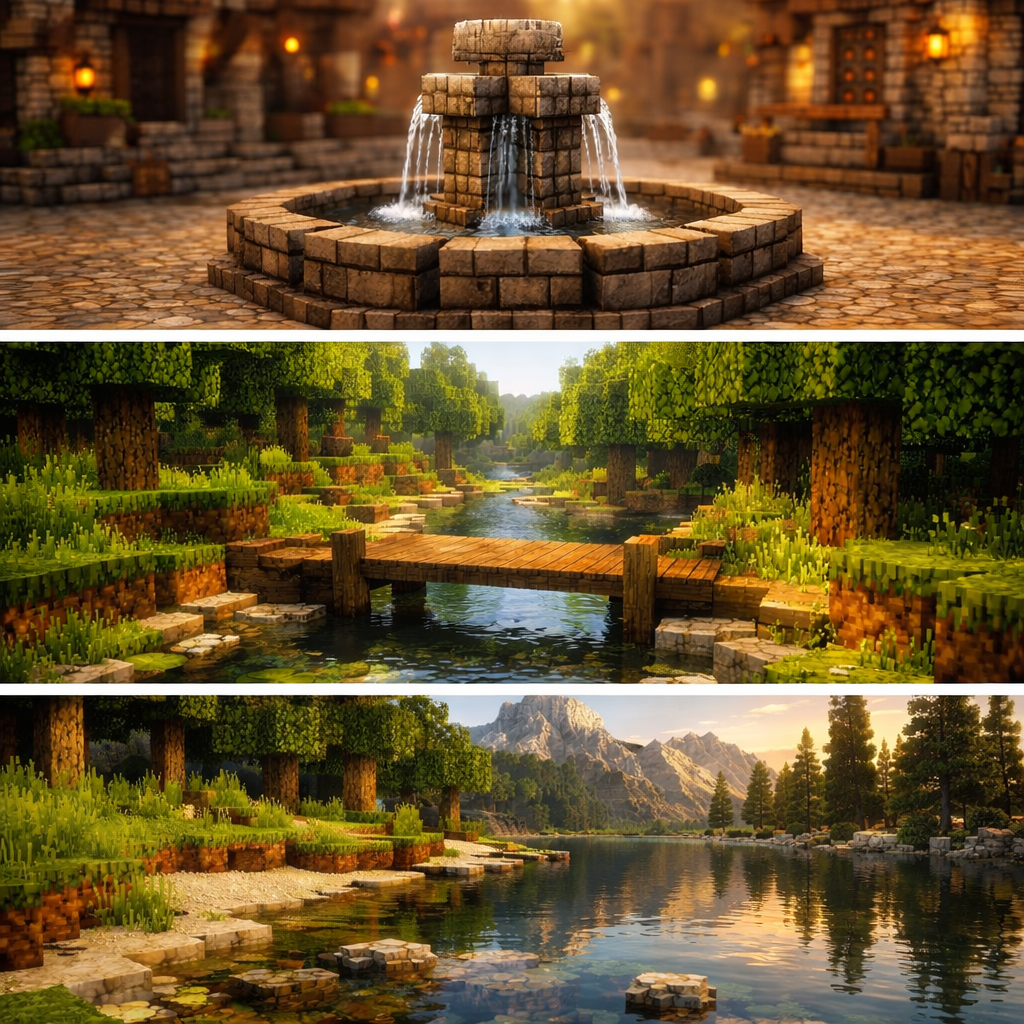
For castle districts, village squares, or any medieval-adjacent build, stone bricks are the obvious starting point — but the key is avoiding a flat, uniform look. Mix in cobblestone, andesite, and mossy stone brick variants throughout the basin walls and pillar. The moss suggests age; the andesite provides tonal variation without breaking the palette.
Place walls in the center pillar rather than full blocks to give the fountain a more architectural silhouette, then surround the basin with a ring of stone brick slabs at ground level. This reads immediately as a constructed civic fountain rather than a decorative afterthought.
Forest and Natural Biomes
In forest, taiga, or plains builds, the goal is a fountain that looks less constructed and more discovered — as if the water has always been there and the stonework grew up around it. The approach here is a “stacked stones” style, where irregular arrangements of mossy cobblestone, coarse dirt patches, and exposed stone create the appearance of a natural spring.
Surround the basin loosely with oak logs, flowering azalea, and patches of grass or podzol rather than a formal stone ring. Use a shorter central pillar — one block tall, or simply a waterlogged slab — so the fountain reads as a shallow pool fed by a natural seep. Add a few lily pads and some seagrass in the water itself for depth.
Desert and Savanna Biomes
Desert fountains work best when they lean into the oasis concept: small, precious, and surrounded by life that wouldn’t exist without the water. A shallow sandstone basin, two to three blocks wide, set into a courtyard of cut sandstone and terracotta creates an immediate sense of place.
The surrounding landscaping does as much work as the water itself here. Palm-style trees built from jungle logs and leaf blocks, hanging lanterns above the basin, and a market stall or two nearby transform what would otherwise be a simple pool into a convincing desert waypoint. Exploring spawn biomes strategically can help you find desert terrain that already has the natural contours to make these features feel at home.
Cold Biomes: Frozen and Not
Cold biome fountains present a specific design challenge: water freezes when exposed to the sky, which can ruin a carefully built feature overnight. You have two options — design around the freezing, or use it deliberately.
- Work around it: Enclose the fountain partially with an overhead structure — a pavilion, pergola, or simple stone slab overhang — to block sky access and prevent freezing. Use blue-tinted glass, blue ice, or packed ice as decorative basin elements instead of exposed water.
- Lean into it: Let the fountain freeze and build around the ice as a design feature. A courtyard fountain that ices over creates a genuinely interesting environmental storytelling element, especially in snowy village or ice plains builds.
Our cold biomes building guide has more on working with rather than against environmental constraints like this.
Fountain Palette by Biome
Swap these block sets into the universal base blueprint to match your build’s biome. ★ = primary/pillar block.
Indoor Fountains and Wall Features
Water features don’t require outdoor space, and some of the most impressive applications happen inside bases. A compact wall fountain — essentially a one- or two-block-deep recess in a wall with a waterlogged staircase creating a catch basin — takes up almost no floor space but adds significant atmosphere to an otherwise plain interior hallway.
For modern or quartz-heavy interiors, a floor-level reflecting pool works beautifully as a room divider or entryway feature. Keep the water exactly one layer deep and fill it entirely with source blocks for a mirror-smooth surface. Frame it with polished stone, white concrete, or quartz slabs depending on your interior palette. If you’ve been working on realistic texture packs, this is one of the builds where the visual impact pays off most — water reflections under a complementary shader set are genuinely striking.
Building Believable Rivers
Rivers are the connective tissue of large-scale landscape builds. A well-constructed river doesn’t just add visual interest — it creates a sense that your biome has geography, that water flows downhill from somewhere meaningful and toward somewhere else. It ties builds together in a way that paths and roads can’t quite replicate.
Shape First, Water Second
The most common river-building mistake is adding water too early. Before you place a single bucket, the riverbed needs to exist — carved, shaped, and detailed. Sketch the path following natural slopes, deliberately avoiding long straight sections that look artificial. Real rivers curve and widen; add bends, occasional shallows, and points where the channel narrows before opening again.
Carve either a V-shaped or U-shaped bed depending on the character you want:
- V-shaped — suggests a fast, younger river cutting through rock; works well for mountain streams and canyon builds
- U-shaped — reads as older, slower, more settled into its landscape; ideal for plains, forest, and lowland biomes
Once the basic shape is dug, replace exposed stone at the banks with coarse dirt and gravel mixed with sand patches, some clay on the bed floor, and the occasional exposed stone outcrop where the bank has worn away.
Filling Without Currents
Fill from the source end of the river, placing water along the top of each section so it flows naturally into lower stretches. For very long rivers, create multiple source lines running down the channel surface and let them settle. A fully settled, current-free river reads as far more natural than one where flowing water is visible mid-channel.
Pay particular attention to shallow areas. A slightly raised section of gravel or sand in the middle of the channel, just below water level, creates a visual texture break that suggests the water is moving over and around obstacles even when it’s technically still.
Biome Detailing by River Type
The surrounding landscape is where a river transforms from a carved trench into something convincing. Each biome calls for different treatment:
- Forest and taiga: fallen logs crossing the channel, coarse dirt and podzol banks, berry bushes, simple wooden plank bridges
- Mountains: waterfalls feeding the river from above, rocky outcrops framing the falls, narrow fast-looking upper channels opening into wider valley sections — see our mountain biome construction guide for full terrain techniques
- Swamp: darker gravel or clay on the bed, more lily pads, reed-like bamboo or sugar cane at banks, overhanging trees with hanging vines
- Jungle: dense foliage closing in over the water, mangrove-style root structures at the banks, azalea overhangs
Rivers also solve a navigation problem worth mentioning: in large worlds or city builds, a river doubles as a travel corridor. Boats move quickly along constructed waterways, and in frozen northern biomes, an ice road running alongside or over a frozen river can become genuinely useful infrastructure rather than purely decorative.
Artificial Lakes and Ponds
An artificial lake is often the first major water feature builders attempt, and it’s the one where technique matters most. A flat, perfectly rectangular hole filled with water looks like exactly what it is. A thoughtfully carved, textured, and landscaped lake looks like terrain.
Carving Methods
Two main approaches, each with its uses:
- Controlled digging — more reliable for most builders; you have direct oversight of the shape and can adjust as you go. Dig the rough outline first, then smooth the edges: soften sharp corners, add shallows near the shoreline, and create a few irregular indentations to break the perimeter’s regularity.
- TNT method — creates organic craters quickly for very large lakes, but requires significant cleanup work to remove blocky explosion geometry and replace edges with appropriate materials.
For most builds under 30×30 blocks, controlled digging gives better results. TNT starts to make sense once you’re carving something large enough that hand-digging the full outline would take hours.
Filling Reliably
For lakes shallower than three blocks, fill the entire surface with water source blocks and you’re done. For deeper lakes, use a layered approach: fill the top layer as source blocks first, then dig the lower sections while the water above self-fills. This prevents the frustrating experience of having half your carefully filled lake drain out when you dig the next level down.
Shoreline Details
The shoreline does most of the visual work. A bare stone or dirt edge where water meets land looks unfinished regardless of what’s happening in the water itself. Layer the transition carefully:
- Nearest the water: sand or fine gravel, partially submerged
- Just above: coarse dirt or podzol, with occasional clay patches
- Beyond that: grass or your biome’s standard ground cover
- At intervals: partially submerged rock clusters and small outcrops to break the shoreline’s regularity
For warm biome lakes and ocean-adjacent builds, coral and sea pickles add colour and depth to the shallows. In Mediterranean or coastal architecture, shallow reflecting pools with just enough depth for seagrass create a surprisingly convincing coastal atmosphere.
Speciality Applications
Tiered cliff lakes are one of the most visually dramatic landscape features you can build. A series of shallow pools at different elevations, each spilling into the one below via a short waterfall, creates a natural terracing effect that reads as real geography. Use this on hillside builds, mountain bases, or anywhere you have significant vertical relief to work with.
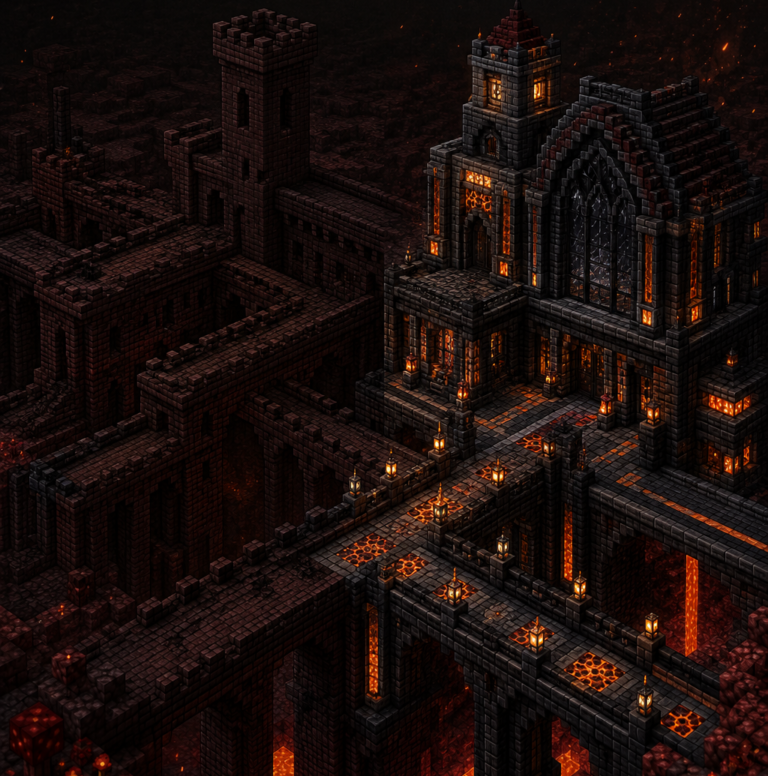
In the Nether, direct water placement isn’t possible — but the lava lake analogue is a compelling design option. Replace water with lava, frame it with basalt, blackstone, and warped wood, add glass walkways over the surface, and you have a feature with all the visual drama of water but in a palette that actually belongs in the dimension. Our Nether building guide covers this approach in more detail alongside other techniques for making the Nether feel architecturally intentional.
Aquariums, Canals, and the Indoor Water Feature Toolkit
Bringing water inside a build is often where builders hesitate — it seems complicated, or it seems like it might make the interior feel damp and cramped. Done well, interior water features are the opposite: they open spaces up, add movement, and create the kind of focal points that make a base memorable.
Indoor Canals
A narrow canal running through the floor of a base, crossed with trapdoor or slab bridges, turns a plain interior corridor into something with genuine character. Keep the canal one block wide and one block deep for maximum versatility — wide enough to be visually present, narrow enough not to disrupt the floor plan. Coloured glass panels placed over the water create accent lines of light that can define zones within a larger open-plan space.
Wall Waterfalls
A three-block-wide wall waterfall — water falling from a raised source into a one-block-deep trough — is one of the highest-impact, lowest-footprint interior features you can build. The constant movement draws the eye and creates audio interest. Use open glass or open frames with stairs on either side to contain the water without enclosing it completely.
For a more controlled look, surround the waterfall with the same block palette as the surrounding wall so it reads as an architectural detail rather than a separate feature. A deepslate or polished blackstone wall with a central water channel running from ceiling to floor is a genuinely striking design for modern or industrial interior styles.
Aquarium Floors and Walls
Contained aquariums using glass blocks or panes are more buildable than they first appear. A below-floor aquarium — visible through a glass floor panel — takes up zero floor space while adding significant visual depth. Stock with tropical fish, kelp, and sea pickles for bioluminescent lighting. A glass wall aquarium built into a bedroom or living space uses the same principle vertically.
The key to a convincing aquarium is containment: the glass must form a complete seal with no gaps. A few things worth checking before you fill:
- Use glass blocks rather than panes at corner joints — panes have slightly different hitbox behaviour that causes unexpected leaks
- Test the seal with one bucket before committing to a full fill
- Place sea pickles on the bed for lighting that doesn’t require separate torch placement
Putting It All Together
The most effective use of water in a large build is layered: a fountain as a courtyard focal point, a river threading through the landscape and connecting the main structures, and one or two lakes providing a sense of geographic scale. Indoor features — a canal, a wall fountain, an aquarium — echo the outdoor water language and make the build feel integrated rather than assembled.
Start with the feature that solves your current biggest problem. If your build feels static, add a fountain. If it feels isolated, add a river. If the terrain feels flat and unconvincing, add a lake with proper shoreline work. Each of these features is buildable in an afternoon once you understand the underlying mechanics — and the difference between a build with and without them is almost always immediately visible.
Water is the detail that makes Minecraft builds feel alive. Once you start seeing where it belongs, you’ll wonder how you ever built without it.
Continue Your Journey:
- Minecraft Landscape Building Guide — broader terrain and environment techniques to complement your water features
- Mountain Biome Construction — cliff lakes, waterfall rivers, and alpine water placement in depth
- Nether Building Guide — lava features, blackstone framing, and dimension-appropriate alternatives to water
- Mediterranean Architecture in Minecraft — courtyard pools, reflecting ponds, and coastal water features
- Best Minecraft Mods for Builders — tools like WorldEdit that make large-scale water terraforming dramatically more efficient
What’s your go-to water feature? Do you tend to build fountains for the detail work, or do you prefer large-scale lakes and rivers? Share your current project in the comments — we’d love to see what you’re working on.