
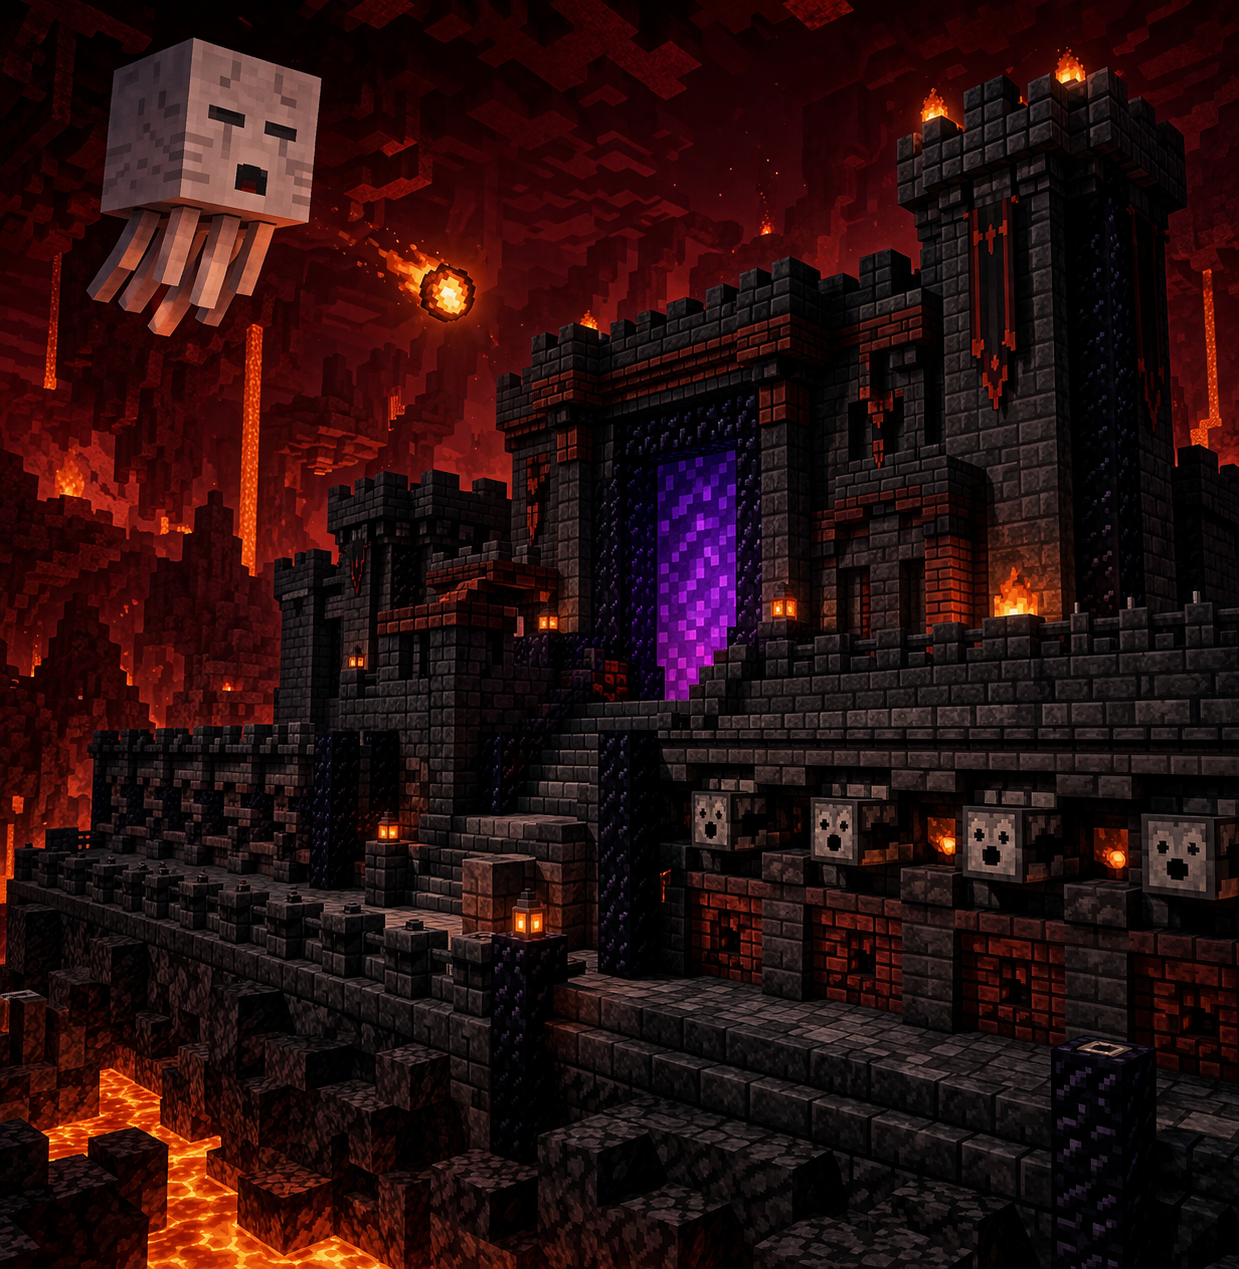
The first time a ghast fireball punches through your carefully constructed Nether wall and sets half your base alight, you learn a very specific lesson: the Nether does not reward optimism. That distinctive wailing cry is the sound of your building plans being reevaluated, and if you haven’t thought seriously about ghast-proofing before you hear it, you’re already behind.
Ghast protection isn’t about finding one miracle block and covering everything in it. It’s a layered discipline that combines material knowledge, sightline control, structural planning, and a clear head for recovery. This guide covers all of it, from the physics of a fireball to the fastest way to get your portal lit again after a hit.
Understanding How Ghasts Attack
Before you can defend against something, you need to understand how it works. Ghasts are large, floating mobs that require line of sight to target you. In Java Edition, that targeting range extends to 64 blocks horizontally and 4 blocks vertically. Bedrock Edition typically has a shorter range unless a ghast has already taken damage, at which point it becomes more aggressive.
The practical implication of the line-of-sight requirement is significant: a ghast that cannot see you will not fire. This makes cover and sightline disruption your single most powerful tool, and it should inform every architectural decision you make in the Nether.
Fireball Mechanics: What You’re Actually Dealing With
Ghast fireballs are explosion power 1 projectiles. That might sound relatively modest compared to creepers or TNT, but in the Nether, even small explosions cause cascading problems. Fireballs destroy blocks, damage entities, and ignite surrounding material, which matters enormously in an environment saturated with flammable netherrack.
The minimum blast resistance needed to fully absorb a ghast fireball’s force sits at roughly 3.3, though in practice you want a comfortable margin above that. Cobblestone, with a blast resistance of 6, is the commonly cited minimum-viable material, and it performs reliably as a first-line defence.
One mechanic worth knowing for combat: deflected fireballs travel back at full speed and can kill a ghast outright. Land this and you’ll earn the “Return to Sender” advancement. It’s satisfying, practically useful, and a good habit to develop.
Blast Resistance: Choosing Your Materials Wisely
Blast resistance and mining hardness are separate stats, which catches some builders off guard. A block can be easy to mine but tough against explosions, or vice versa. For the Nether specifically, you’ll want to understand which materials are genuinely reliable.
Blast Resistance Reference
Ghast fireball minimum threshold: 3.3 — click headers to sort
| Block ↕ | Blast Resistance ↓ | Tier ↕ | Source ↕ |
|---|
The Working Tiers
Reliable mid-tier materials for walls, roofs, and general structure include cobblestone, stone, stone bricks, blackstone, polished blackstone, nether bricks, basalt, and polished basalt. All of these sit comfortably above the minimum threshold and are either findable in the Nether or easily carried in. Nether bricks are particularly thematic if you’re building anything fortress-adjacent, and blackstone is abundant in the Basalt Deltas biome.
High-resistance materials for critical points include obsidian, crying obsidian, and ancient debris. Obsidian has a blast resistance of 1,200, making it essentially immune to ghast fireballs. Ancient debris is similarly tough. These materials are expensive to obtain in quantity, so use them strategically rather than blanketing your entire structure.
The most sensible approach for most builds is a combination: reliable mid-tier materials for the bulk of your structure, with obsidian reserved for your portal frame, exposed corners, and any room you’d particularly hate to lose. As covered in our Complete Nether Materials Guide: Building Blocks Breakdown, each material has trade-offs beyond blast resistance, and understanding the full picture helps you make smarter decisions on the fly.
What Not to Use
Netherrack is the obvious culprit, but it’s worth saying plainly: do not build load-bearing walls from netherrack. It has negligible blast resistance and catches fire. Similarly, soul sand and soul soil perform poorly under explosion pressure. Any wood variants are simply out of the question.
Sightline Denial: Your Primary Defence Strategy
The most effective ghast-proofing technique isn’t about materials at all — it’s about geometry. If a ghast can’t see you, it won’t fire. Structure your build around this principle first, then layer in blast-resistant materials as reinforcement.
Sightline Control: Top-Down Layout
Switch between a vulnerable base and a properly defended one
The Classic Shelter Formula
A reliable basic structure works like this: blast-resistant walls at least three blocks high, with a solid roof overhanging two blocks above that. This creates a sheltered working zone where you can move freely without presenting a clear sightline to anything floating outside. You can include gaps or arrow slits to observe and engage threats without fully exposing yourself.
Flat, exposed rooftops are a genuine vulnerability. Ghasts can attack from above, and a horizontal surface you spend time on is a liability. Stepped roofs, recessed courtyards, and overhangs all break sightlines more effectively than a flat cap. Think about where you’ll actually be standing during normal operation and design the coverage around those positions.
Portal Protection
Your portal deserves particular attention. A ghast fireball deactivating your portal is inconvenient at best and genuinely dangerous at worst, especially if you’re carrying resources and can’t find your way back. Enclose the portal in a dedicated chamber with blast-resistant walls and a ceiling that prevents aerial sightlines. The chamber should be accessible enough to relight the portal quickly, but sealed enough that random projectiles can’t reach the frame from outside.
Building multiple portals and connecting them through your Nether Hub Design: Complete Transportation Network Guide is a worthwhile investment once your base is established. Losing one portal to a ghast hit stops being catastrophic when you have a backup already lit.
Structural Defence: Building a Proper Fortified Base
Good ghast defence isn’t a single wall — it’s a nested set of protective layers, each one reducing the chances that a problem reaches the next.
The Outer Shell
Your outermost layer should be solid, blast-resistant, and continuous. Any gaps at eye level or above are potential sightlines. Pay particular attention to where your walls meet the roof: that junction is a common weakness, and ghasts will exploit it. Use full blocks rather than slabs at the roofline if you want reliable coverage.
Think about your entrance design carefully. Multi-door airlocks — a short covered corridor with staggered entrances — prevent ghasts from getting a clear shot into your interior when you’re moving in or out. It’s a minor inconvenience that pays off consistently.
Interior Panic Room
For larger bases, a small obsidian-lined safe room is worth the investment. This is your fallback point if a fireball breaches the outer structure during a particularly bad sequence. It needs only be large enough to move in comfortably, store essentials, and access emergency supplies. Think of it as the structural equivalent of keeping a spare pickaxe.
Ceiling and Roof Considerations
Ghasts patrol vertically as well as horizontally. If your base is in an open biome like the Nether Wastes, attacks from above are a real risk during construction. Prioritise getting a roof on your structure early, even if it’s basic, before you worry about finishing the walls. Working under open sky in the Nether is unnecessary exposure.
Our broader guide on Nether Building Mastery: Surviving and Thriving in Hell’s Architecture covers the full range of structural considerations across different Nether biomes, which is worth reading alongside this defence-specific guide.
Automated Defence Systems
Automated systems are useful as a supplementary layer, not a primary defence. Ghasts at range are difficult to reliably intercept with automated tools, but there are applications that make sense.
Dispenser Turrets
Dispensers loaded with arrows or fire charges can be positioned at known approach vectors, particularly around entrances and perimeter walls. Triggered by pressure plates or tripwire, they’re best suited to clearing mobs that have managed to get close to your structure rather than engaging ghasts at range. A dispenser bank at a bottlenecked entrance can significantly reduce the pressure of a multi-mob situation.
Piston Barriers and Emergency Closures
Redstone-triggered piston gates can seal entrances rapidly if you’re caught in a bad situation. This is more relevant to managing ground-level threats, but a well-designed gate system reduces the number of decisions you need to make under pressure. When things go wrong in the Nether, simplifying your emergency response is always worthwhile.
Combat Techniques: When Prevention Isn’t Enough
Even a well-built base requires you to engage ghasts occasionally, particularly during construction before your defences are complete. Understanding the combat mechanics makes those encounters considerably less stressful.
Bow and Deflection
A bow or crossbow is the right tool for ghast combat. Swords require you to be dangerously close, and ghasts keep their distance by design. The deflection mechanic — hitting a fireball back at the ghast with any weapon or even a bare hand — is available as a last-resort option but inconsistent without practice. Bow combat at range gives you control over the engagement.
Fire Resistance potions are worth carrying in the Nether generally, but understand their limits: they protect you from fire and lava damage, not from the direct hit or explosion impact of a fireball. They’re damage mitigation, not immunity.
Shield Use
Shields can block ghast fireballs, but there’s a catch. The explosion still causes damage to the player even when the fireball itself is blocked. Shields are useful in specific defensive moments but shouldn’t be your primary answer. Treat them as a last-second option when you can’t dodge or deflect, not as a strategy.
Recovery: After the Hit
Even excellent preparation doesn’t guarantee zero incidents. A recovery plan, prepared before you need it, makes the difference between a setback and a genuine disaster.
Post-Fireball Recovery Checklist
Work through each phase in order — tick off as you go
Immediate Priorities
When a fireball hits, your immediate concerns are fire control, mobility, and portal integrity. Netherrack burns indefinitely once ignited, so extinguishing fires around your base is time-sensitive. Keep a water bucket-equivalent accessible — though remember water doesn't function in the Nether, so your fire-control options are limited to blocking fire spread with non-flammable blocks or simply removing burning netherrack.
Always carry flint and steel. Always. Portal reactivation is a ten-second task if you have flint and steel on you, and an extended ordeal if you don't.
Repair Strategy
Keep a small stockpile of your primary building material inside your base. Patching a blast hole quickly prevents further exposure while you're in a compromised state. Speed matters more than aesthetics on initial repair; you can refine it once the immediate threat is managed.
Nether Survival Essentials: Complete Preparation Guide covers the full pre-entry inventory and preparation checklist, including potion loadouts and emergency supplies, which complements the defensive approach outlined here.
Ghast Tears as a Resource
There's a useful silver lining to ghast combat: ghast tears drop when you kill one, and they're the brewing ingredient for Regeneration potions. If you're going to be fighting ghasts during your Nether work anyway, approach it as resource gathering. A consistent supply of Regeneration potions is a meaningful quality-of-life improvement for extended Nether sessions and helps offset the chip damage from any hits that get through your defences.
Putting It All Together
A comprehensive ghast-proofing strategy works through a clear progression: understand the threat, choose appropriate materials, design for sightline denial, build defensive structures, add automation as a support layer, and prepare a recovery plan for when things go wrong despite everything.
No single element is sufficient on its own. Obsidian walls with exposed sightlines are vulnerable. Perfect sightline denial with weak materials fails at the first direct hit. The combination, applied with some deliberate thought during the planning stage, produces a base that handles the Nether's worst moments with minimal drama.
The builders who find the Nether genuinely enjoyable are usually the ones who've stopped treating it as hostile territory to be endured and started treating it as a design problem to be solved. Ghasts are consistent, predictable, and ultimately manageable. For everything else the Nether throws at you, our Security and Defence by Biome: Protecting Bases from Environmental Threats guide covers the full range of environmental hazards across every dimension.
Continue Your Journey
Nether Building Mastery: Surviving and Thriving in Hell's Architecture — The comprehensive guide to architecture and base design across all five Nether biomes.
The Complete Nether Materials Guide: Building Blocks Breakdown — Detailed blast resistance values, sourcing locations, and aesthetic applications for every Nether-relevant building block.
Nether Survival Essentials: Complete Preparation Guide — Everything you need to prepare before entering the Nether, from inventory loadouts to portal placement strategy.
Nether Hub Design: Complete Transportation Network Guide — How to design and build a functional Nether hub that connects your builds and protects your transport routes.
Security and Defence by Biome: Protecting Bases from Environmental Threats — Defensive strategies extended across every biome, from ghasts in the Nether to elder guardians in the ocean.
What's been your worst ghast encounter, and what did it teach you about base design? Share your hard-won lessons in the comments below.
Want more Nether building content, survival strategies, and design guides delivered straight to your inbox? Subscribe to the Bricks & Blocks Creative newsletter and never miss a new post.


