Most survival bases start the same way: a dirt hole, a few torches, and a creeper-induced near-death experience you’d rather forget. What separates players who eventually build something genuinely impressive from those who remain in organised chaos is not talent, it is a plan.
Giving yourself deadlines, even loose ones, transforms base-building from reactive scrambling into deliberate, satisfying progression. This guide breaks down 10 concrete milestones across your first 90 in-game days, framing each upgrade around the problem it solves, so you always know why you’re building, not just what.
Why Survival Bases Need a Timeline
Survival mode is fundamentally about momentum. The early game throws so many competing demands at you that base upgrades can slip down the priority list indefinitely. You tell yourself you’ll sort the storage room after you find diamonds, and then you’re 200 days in, still working out of a chest pile next to your crafting table.
| Milestone | Problem It Solves | Key Resources | |
|---|---|---|---|
| Day 30 — Survival Essentials | |||
| 01 | Secure shelter with perimeter defence | Nighttime mob damage derailing progress and wasting resources | Torches Fence / walls Doors |
| 02 | Organised storage room | Inventory chaos slowing every build and crafting task | Chests Signs / labels |
| 03 | Reliable food source | Low hunger forcing risky decisions in the field | Seeds Water Animals |
| 04 | Smelting and crafting station | Wasted movement between stations when processing materials | Furnaces Blast furnace Fuel |
| Day 60 — Utility & Automation | |||
| 05 | Enchanting room | Unenchanted gear limiting exploration and combat effectiveness | 15 Bookshelves Lapis lazuli XP |
| 06 | Nether portal room | Disoriented, unplanned Nether access with no preparation | Obsidian Fire resistance pots |
| 07 | Expanded storage system | Reactive chest sprawl overwhelming your original layout | Chests × many Clear categories |
| 08 | Villager trading space | Relying on RNG for enchantments, tools, and key materials | Beds Workstations Emeralds |
| Day 90 — Full Base Transformation | |||
| 09 | Farm wing for key materials | Running out of basics like iron mid-build and losing momentum | Iron farm Crop automation |
| 10 | Decorated living spaces | A base that functions but never feels finished or personalised | Interior blocks Furniture Lighting |
A milestone framework does two things at once. It gives your building goals a natural sequence tied to where you actually are in the game’s progression, and it makes each upgrade feel earned rather than arbitrary. You’re not adding an enchanting room because it looks nice; you’re adding it because you’ve hit the point where unenchanted gear is genuinely holding you back.
These milestones are written for survival mode players who care about both function and form. If you’ve ever looked at a community build online and wondered how they got from a starter shack to something architecturally considered, this progression is the answer.
Day 30: The Survival Essentials Phase
The first 30 days are about getting your foundation right. Every upgrade in this phase solves an immediate, practical problem. Decoration can wait; these four milestones should be non-negotiable.
Milestone 1: A Secure Starter Shelter with Perimeter Defense
Your first shelter does not need to be beautiful, but it does need to be deliberate. By day 30, you should have moved beyond the panicked dirt box into a structure with a defined perimeter, proper lighting inside and out, and at least one defensive feature, whether that’s a fence line, a moat, or simply walls thick enough that mobs can’t path-find through them easily.
Security and defense by biome matters more than many players realise at this stage. A plains base has different vulnerabilities to a forest or swamp spawn, and your defensive choices should reflect that. The point is not to build a fortress on day one, but to stop losing sleep (and progress) to nighttime mob incidents.
Lighting is the most underrated defensive upgrade. A well-lit perimeter dramatically reduces mob spawns around your base, letting you move more freely after dark without constant interruptions. Torches are fine early on, but consider planning for more permanent lighting solutions as you progress.
Milestone 2: An Organised Storage Room
By day 30, your inventory chaos needs to end. A dedicated storage room, even a modest one, with chest zones grouped by category (raw materials, food, building blocks, tools, valuables) transforms how efficiently you can work and build.
Minecraft storage solutions are a topic unto themselves, but the principle at this stage is simple: separation by category and proximity to your working area. Your furnaces and crafting tables should be adjacent to the storage room, not a sprint across the base. Think about the workflow loop: gather, smelt, store, craft. Every step should flow naturally into the next.
This is also the moment to start thinking spatially about your base. Where will the storage room sit relative to the entrance? How will you expand it later? Getting the orientation right at day 30 saves significant retrofitting pain at day 90.
Milestone 3: A Reliable Food Source
A basic farm or animal pen should be operational by the end of your first 30 days. This is not about scale: a 9×9 wheat farm with water at the centre and a small chicken or pig enclosure is entirely sufficient at this stage. The goal is to stop food being a source of anxiety.
Players who let food management drag on tend to make riskier decisions in the field, fighting on low hunger because they can’t afford to stop. Securing your food supply early means you can explore further, build longer, and take on the Nether when you’re ready rather than when you’re forced to by necessity.
Milestone 4: A Dedicated Smelting and Crafting Station
Your furnaces and crafting table should have a permanent home with enough storage adjacency to function without walking across the base every time you need to smelt ore. A two-furnace setup with dedicated input and output chests, ideally with your blast furnace nearby for ores, is the practical minimum for comfortable day-30 living.
Think about your building fundamentals when designing this area. Even a functional utility station can have visual consistency: matching stone or stone brick walls, organised chest placement, and a logical flow between stations make the space feel intentional rather than thrown together.
Day 60: Utility and Automation
By day 60, you’ve survived the early game and you’re starting to encounter the next wall of friction: gear that isn’t good enough, travel that takes too long, and systems that require too much manual work. These milestones address all three.
Milestone 5: An Enchanting Room
If your tools and armour are still unenchanted at day 60, you’re playing survival mode on hard mode unnecessarily. An enchanting setup requires a bookshelf arrangement (15 bookshelves positioned correctly around your enchanting table), some lapis lazuli, and a source of experience, which you should be generating through normal play by this point.
The enchanting room is also one of the most rewarding spaces to design properly. A dedicated room with atmospheric lighting design transforms this from a functional station into a genuine focal point for your base. Soul lanterns, candles, and bookshelves create an environment that feels like it belongs to someone who takes their craft seriously. This is one area where spending an extra hour on the aesthetics pays dividends every time you return to re-enchant.
Milestone 6: A Nether Portal Room or Travel Hub
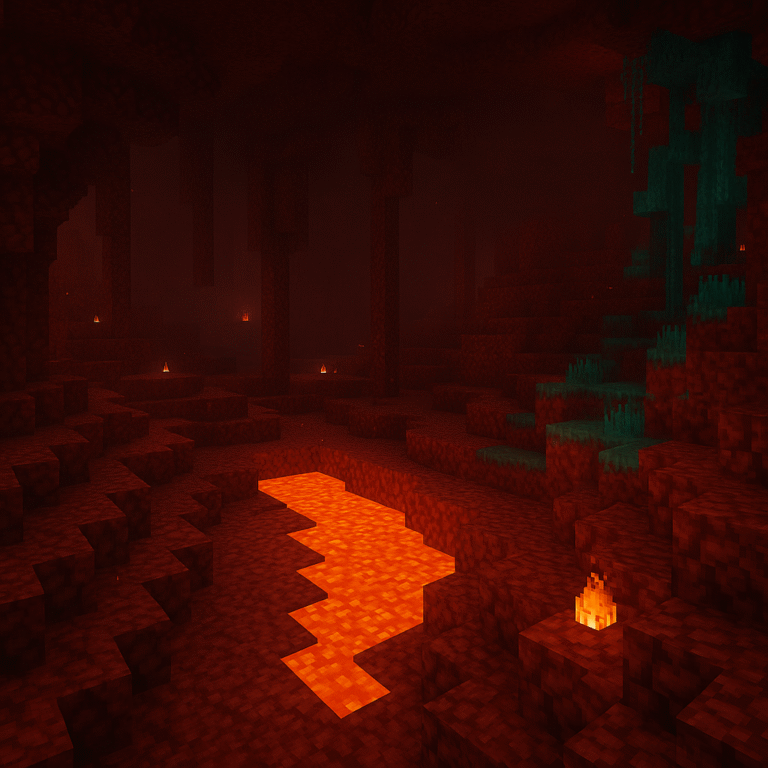
Your first Nether trip should happen well before day 60, but by this milestone you need a proper portal structure integrated into your base rather than a freestanding frame you happened to build somewhere. A dedicated portal room gives you a clear departure and arrival point, reducing the disorientation that comes from jumping in and out of the Nether without context.
The portal room is also the natural anchor point for your base’s travel infrastructure. Where does it sit relative to your main entrance? Can you get there quickly under pressure? Is there a chest nearby with fire resistance potions and emergency supplies? These are the questions that separate a portal room from a portal.
Nether survival essentials become significantly more important once you’re making regular trips. Your portal room should reflect that: a preparation chest, fire resistance supplies, and clear signage so you always know where you’re going when you step through.
Milestone 7: Storage Expansion with Category Separation
Your day-30 storage room was built for day-30 inventory. By day 60, you’ve accumulated considerably more, including Nether materials, enchanted gear, brewing ingredients, and building blocks in quantities your starter chests couldn’t anticipate. This milestone is about growing that system deliberately.
Category separation is the key principle here. The mistake most players make is adding chests reactively: they run out of space and stick a new chest wherever there’s room. The result is a storage room that looks chaotic and functions worse than it did when it was smaller. Instead, plan your categories: raw stone and building blocks, precious ores, food and farming, combat and armour, Nether materials, miscellaneous. Give each category its own section and leave room to grow.
Milestone 8: A Villager Trading Space or Breeder Setup
Villager trading is one of survival mode’s most powerful systems and one of the most commonly neglected. By day 60, you should have at least a basic villager station, whether that’s a dedicated trading hall with a handful of cured villagers or a simple breeder setup to start building a reliable emerald economy.
The initial investment is straightforward: beds, workstations, and secure housing. The return, in terms of reliable access to enchanted books, tools, and resources, is substantial. A librarian alone can provide access to enchantments you’d otherwise spend dozens of enchanting attempts trying to obtain randomly.
Day 90: The Full Base Transformation
Ninety days in, your base should look and function like a place someone actually lives. These final two milestones bring everything together into a coherent whole.
Milestone 9: A Farm Wing for Key Materials
By day 90, manual resource gathering should be the exception rather than the rule for your most-used materials. An iron farm, crop automation, or a dedicated farm wing growing multiple crop types simultaneously frees up enormous amounts of time for building and exploration.
Redstone engineering opens up the most efficient farm designs, but even simple manual farms, well-organised and properly scaled, make a significant difference to your resource flow. The goal is to stop running out of the basics during building sessions. Nothing derails a focused build day like realising you need to go mine more iron.
Your farm wing should also sit logically within your overall base layout. Food and crop farms near the kitchen area, raw material farms with direct access to your smelting station. Think about interior design principles here: even functional agricultural spaces benefit from visual consistency. A crop farm with uniform lighting, organised rows, and a harvest collection point looks like something you planned, not something that happened to you.
Milestone 10: A Finished Main Base with Decorated Living Spaces
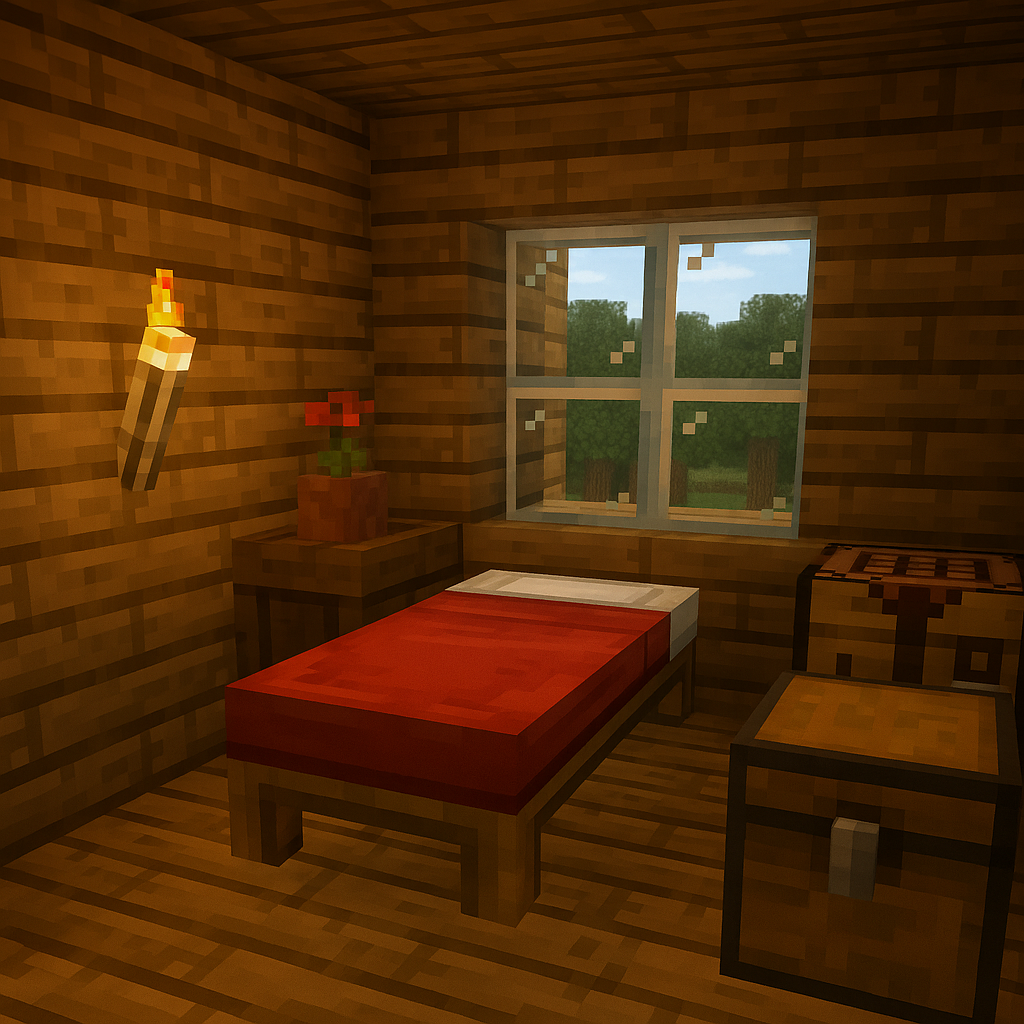
This is the milestone that turns a functional base into a home. By day 90, your bedroom, living areas, kitchen, and utility rooms should feel coherent, personalised, and complete rather than indefinitely “in progress.”
Creating the perfect Minecraft bedroom sanctuary is a good place to start if you’re not sure how to approach this. The principles apply across all your living spaces: consider the room’s purpose, choose a material palette that suits it, add furniture and details that make the space feel used, and pay attention to lighting as a mood-setter rather than just a mob-prevention tool.
Minecraft kitchen design follows similar logic. A kitchen adjacent to your food storage, with a visual distinction between cooking and food prep areas, becomes a space you want to return to rather than just a room that contains your furnaces. The same principle applies to living room design: think about what a social space means in a game where you may well be playing with others, and design accordingly.
The day-90 base is also the moment to think about exterior presentation. Your base should read as a coherent structure from outside, not a collection of rooms that grew outward without a plan. If your exterior needs work, treat that as a milestone-11 goal rather than a failure of the process.
Beyond Day 90: Planning the Next Phase
Hitting all 10 milestones doesn’t mean your base is finished; it means it’s ready to evolve. The progression from here typically involves larger-scale infrastructure: a Nether highway network connecting key biomes, end-game farms for experience and materials, expanded villager trading, and the kind of architectural ambition that’s only possible once your resource problems are solved.
Biome exploration becomes more rewarding at this stage because you’re not exploring out of necessity but out of curiosity. You have the resources to build outposts, the enchantments to face any threat, and the systems to sustain long expeditions.
The milestone framework doesn’t stop at day 90; it just shifts in scale. Your next milestones might be a Nether hub, a fully automated farm complex, or a complete aesthetic overhaul of your main base exterior. What matters is that you keep setting targets, because that’s what transforms survival mode from a series of problems to solve into a genuine creative practice.
Which of these milestones are you currently working towards? Let us know in the comments where you are in your survival progression.
Continue Your Journey
- The Ultimate Minecraft Survival Mode Guide — essential strategies and creative challenges for every stage of the game
- Security and Defense by Biome — protecting your base from every environmental threat
- Minecraft Storage Solutions — how to build organised, beautiful living spaces
- Interior Design in Minecraft: Making Spaces Feel Lived-In — the principles behind bases that feel like homes
- Nether Survival Essentials — complete preparation guide for your Nether operations
Want guides like this delivered straight to your inbox? Subscribe to the Bricks & Blocks Creative newsletter for weekly building inspiration across Minecraft and LEGO.